
Replacing an old mailbox post is a relatively cheap and easy way to spruce up your house. It is also something that you can do yourself!
If you're into DIY and are looking for your next step-by-step woodworking project, or simply need to replace your mailbox post at a low cost, you've come to the right place.
Below is an easy-to-follow guide on wooden mailbox post building so that you can get your mailbox up and running in no time!
Step-By-Step Guide On How To Build A Mailbox Post
Step 1 - Make Sure You Have All The Necessary Tools And Materials
We recommend you source the following materials and tools before you start building your mailbox.
You might be able to salvage some of these from your previous post, but we recommend you start with new materials as they will last a lot longer.
Material List
-
A piece of 4x4 lumber for the main vertical post. We recommend that you use one that is 91" long. Bear in mind that, depending on where you live, there may be regulations relating to the length of your mailbox post. Check these out to ensure that you are complying with them. If you're struggling to find them, pop down to your nearest post office - they should be able to help you.
-
A piece of 4x4 lumber for the horizontal mailbox support. We recommend you use one 27 ½" long.
-
A piece of 2x4 lumber for the brace. We recommend you use one 16 ¾" long.
-
A finial (a piece of decorative wood for the post cap).
Step 2 - Draw Out Your Wooden Mailbox Post Plans
Like with any step-by-step DIY woodworking project, we recommend you draw out your mailbox post plans before you start working on actually building it.
Your task will be easier if you have a clear idea of what you intend on doing before you start. Have a quick read-through of all the steps below and then sketch out your wooden mailbox plans.
Step 3 - Make A Notch In Your Main Post
Now, the first actual building step is to make a notch in your main post (the 91" 4x4 lumber). This should be 1 ¾" deep and 3 ½" wide. It should be situated about 15" from the top of the post.
The best way to make this notch is to draw cut lines onto the wood, and use a circular saw to cut 1 3/4" deep on each line.
Then, use a chisel to scrape out all the pieces of wood and sand the notch with fine-grit sandpaper to smooth it out.
Step 4 - Make A Notch In Your Horizontal Mailbox Support
The next step is to make a notch in the 27 ½ inch piece of 4x4 lumber you will use for the horizontal support.
This should have the same dimensions as the notch in your main, vertical post: it should be 1 ¾" deep and 3 ½" wide.
It should be situated about 7 ¼" from one side of the beam. Use the same technique as you used for the last notch to achieve a smooth surface.
Step 5 - Lock The Components Together
Now, you need to lock the two beams together using their notches as the point of contact between the two beams.
They should fit in together at a right angle. This will leave you with a nice joint for your mailbox post.
Use waterproof glue to stick the two beams together at the joint. You should also drill pilot holes and insert 3" screws to reinforce the bond and ensure that your joint remains secure.
Step 6 - Fit The Brace
The next step is to fit the brace. You will use the 16 ¾" 2x4 lumber for the brace. Make a 45-degree cut at each end.
This will allow it to fit diagonally between the other 2 poles, with one end attached to the vertical pole and the other end attached to the horizontal pole.
Lock it into place, and add glue to secure them. We also recommend you drill pilot holes and insert 2 ½" screws to secure the beam.

Step 7 - Attach The Finial
A finial is not necessary for the structural integrity of your mailbox post. It does, however, make it look a lot nicer and is not that difficult to attach.
If you choose to attach a finial to the top of your mailbox post, you should first ensure that it has been centered correctly.
Then, using waterproof glue and finishing nails, attach the finial to the top of your post. Make sure it is secure and has been tightly locked into place.
Step 8 - Secure The Post In Concrete
Now that you have completed all your wooden components it's time to secure the post properly in concrete. Dig a hole approximately 3' deep and fit a tube form.
Place the post into the hole. It's also a good idea to plumb your post with a spirit level and use braces to keep it in place temporarily.
Then, simply fill your tube with concrete. It can take several hours to dry out, but we recommend leaving it for a few days.
Step 9 - Final Touches
Now that you have made your mailbox post, you might want to add some final touches. You might want to varnish your wood or paint it a bright color.
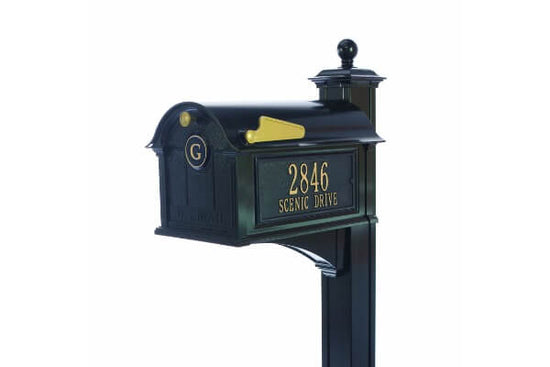
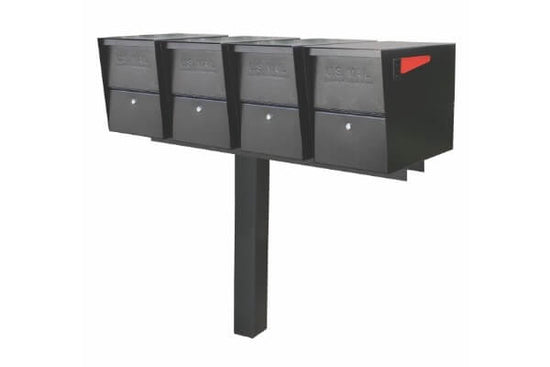
You might also want to replace your mailbox with a unique mailbox or a simple, timeless design.
Frequently Asked Questions About Building A Wooden Mailbox Post
Is Concrete Necessary For A Mailbox Post?
No, you do not have to use concrete to set your mailbox post. There are tools, like a no-dig ground anchor you can use instead of concrete.
What Side Of The Driveway Does A Mailbox Go On?
According to the United States Postal Service Guidelines (USPS Guidelines), your mailbox must be on the right-hand side of your driveway.

Final Thoughts
Making a new mailbox post is quite an easy task. It is a fun and rewarding task that can really elevate your property. Now you have an idea of what it involves, it's time to try it out and embark on your next step-by-step DIY project.


