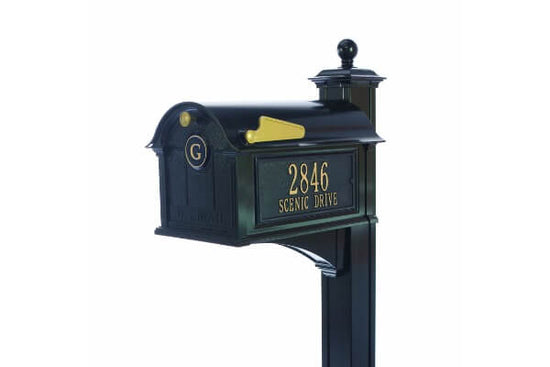
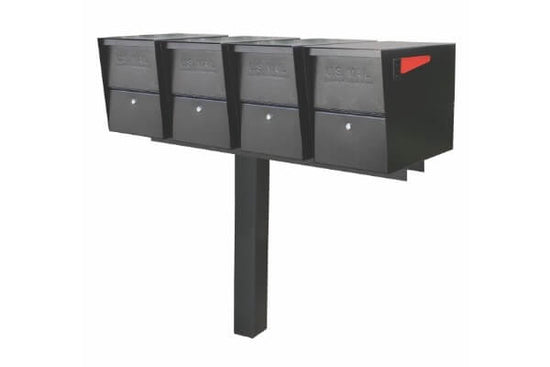
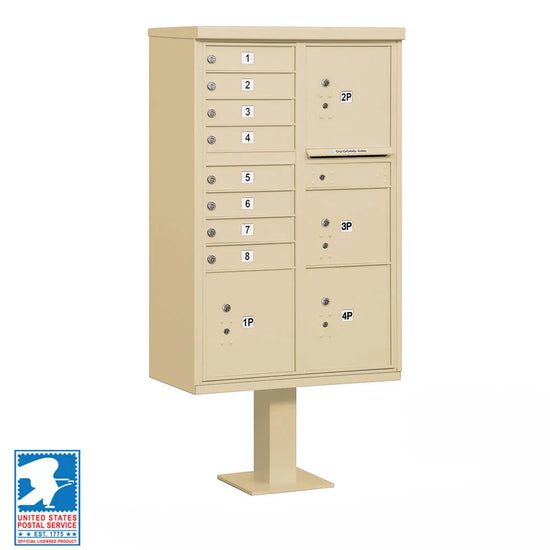
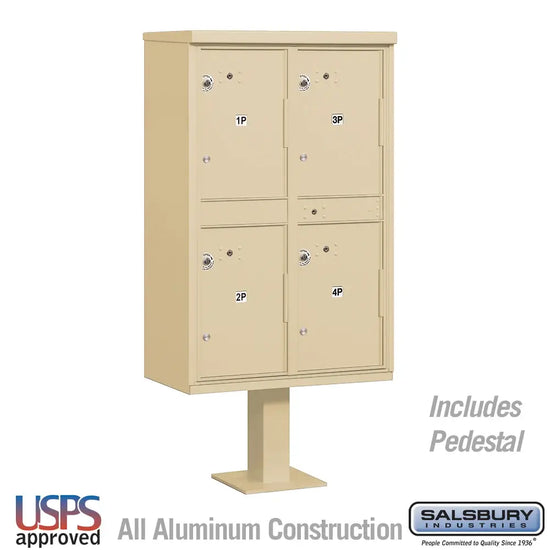
Installing a new mailbox is a straightforward task that you can complete in less than a day. An attractive curbside mailbox is a cost-effective way to boost your home’s curb appeal and protect your incoming mail.
Whether you want to replace your mailbox because an errant driver has knocked the mailbox post into an unsightly lean or wear and tear has left it beyond repair, installing a mailbox can be an easy DIY.
Follow our helpful guidelines on installing a mailbox post to get your own mailbox set up perfectly in just a few hours.
Step-By-Step Guide On How To Install A Mailbox
Step 1: Know The Requirements
Before installing a mailbox, check that the mailbox you have chosen meets USPS size and construction standards. If you are uncertain whether your mailbox complies with the standards, show your local postmaster the plans.
The Federal Highway Administration recommends that mailbox posts be stable but should be able to bend or fall if a car hits them. Avoid unyielding heavy metal pipes.
The best mailbox supports are a 4” x 4” wood post or 2” diameter aluminum pipe, or standard steel pipe.
Step 2: Make Sure You Have All The Tools And Materials You Need
Here is a list of things you need to install a mailbox:
-
Measuring tape
-
Phillips screwdriver or power drill
-
Level
-
Shovel
-
Post hole digger
-
Mailbox supports
-
Mailbox post
-
New mailbox
-
Mounting bracket
-
Support beams
-
Concrete
-
House or apartment number
Step 3: Position Your Mailbox
Before you start digging around your yard, make sure you will not dig into any underground sprinkler systems or cables for yard lights. Also, check where underground utilities, like water pipes and power cables, are laid.
You can search online for the services in your local area or employ a service that will visit your property to mark the location of utilities in your yard. Dig away from the marked site.
Regulations
In the United States, your utilities will be marked out free of charge within two days if you contact 811. Once marked, you have ten days to install your mailbox in a safe place.
Your new mailbox post must be positioned according to USPS requirements. The bottom of the mailbox must be 41-45 inches off the road surface, with raised curb height included. Have a look at your neighbors' posts and mailboxes for some guidance.
This is the standard height for mailboxes most accessible from the postal carrier vehicle. If your new post is on a downhill slope, remember to consider this when measuring.
USPS regulations require that your mailbox door be six to eight inches away from the curb. If your street does not have a raised curb contact your local postmaster for instructions.
If you live on a one-way street, always place your mailbox on your right side while driving down the road. This is the route the mail carrier will naturally take as they travel down the road.
In rural areas, position your new mailbox on the same side of the road as the other mailboxes even if it is on the opposite side of the road to where you live. The correct mailbox placement will make it easily accessible for the postal carrier.
Step 4: Install Your Mailbox
Set the Post
Using a post digger, dig a hole around 24 inches deep. Place the dirt neatly on one side to make it easier to clean up when you are done installing your mailbox post.
Before placing the post, check the dug-out depth with a tape measure, then place the post into the hole and use support beams to prop the post up for when you pour in the concrete. Check that the post is at the correct height before filling in the hole.
Mix the concrete according to package instructions, then pour it into the hole. Use a level on all sides to check that the post is straight. Check that the post and the box are the correct height from ground level. This is the last chance you will have to adjust the mailbox post before the concrete sets.
Pour concrete a few inches below ground level. You want to leave a few inches to fill the hole with dirt so you can decorate the base of the post with plants or cover it with grass.
Leave the post to set for at least four hours, then top up with dirt and flatten it so it is flush with the ground surface.
Attach Your Mailbox
Attach the box to the top of the post following the installation instructions. Check that you can open your mailbox door without difficulty before you screw the box into place. You also want to make sure the mail entry is clear of any obstruction and that the door faces the street.
Label Your Mailbox
Per USPS standards, your mailbox has to be clearly labeled. House numbers must be at least one inch high so your house number can be easily seen.
If your mailbox is positioned a distance away from your house or apartment or on a different street, you need to put your full street address on the box.
How To Install A Mailbox Without Concrete
If you are not enthusiastic about digging a twenty-four-inch hole or mixing concrete, we have a simple solution for you - the Mayne No-Dig Ground Anchor. The galvanized steel anchor is over two feet long and will provide a sturdy foundation for a 4” x 4” wooden post.
Installation is as simple as screwing the anchor into the ground. A crossbar is included with the kit for leverage. Once the anchor is screwed securely in the ground, you can add your wood post. The wood post attaches to the bracket using five lag bolts. Plus, the bracket has pre-drilled holes, and the kit includes the bolts required to secure the pole.
Remember to make sure your post is level and at the right height before tightening the bolts. Once your post is secured, you can attach your mailbox following the installation instructions.

Conclusion
Now that you know how easy it is to install your mailbox, you’re sure to feel inspired to upgrade your curb appeal.
At Mailbox Empire, we have many mailboxes to choose from, and if you can’t find what you had in mind, we can custom-make one for you. Whether you need a residential or commercial mailbox, we have the solution. Get in touch with us to see how we can meet your mail box needs.
******It is always recommended to contact your local postmaster prior to installation. While most of our mailboxes are USPS-approved your local postmaster may have specific preferences in terms of mailbox types and installation location******
