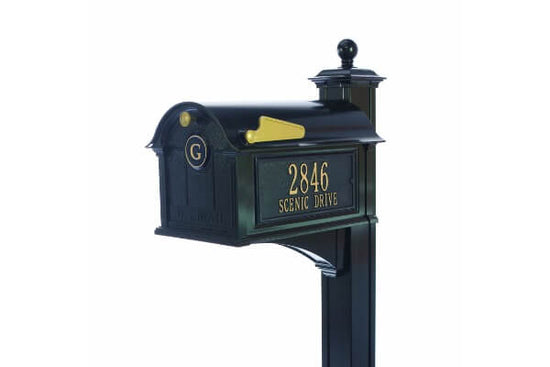
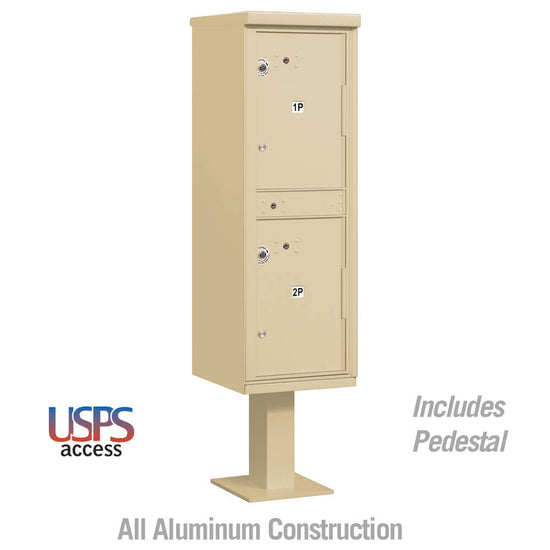
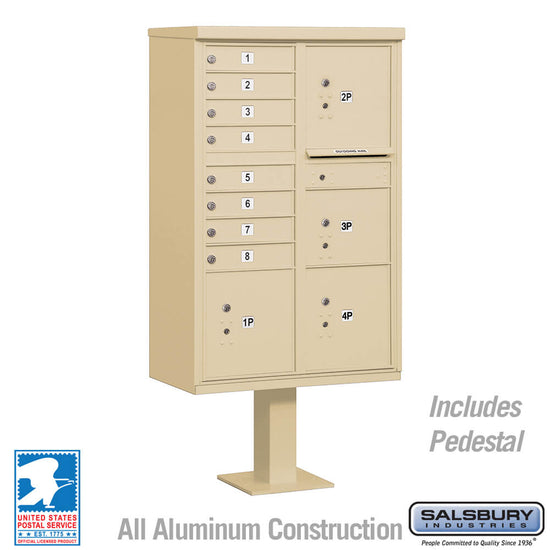
Although a mailbox is a small accent to your house, it can say a lot about you and your home. Keeping it looking neat and fresh can do a lot for your home’s exterior image.
So, we have put together everything you need to know about painting your mailbox. If your old metal mailbox is looking a bit shabby, you need a colour change, or you are simply looking for your next DIY project, you have come to the right place. Here’s how to paint a mailbox with spray paint.
What Supplies Do You Need To Paint A Mailbox?
Before you start even prepping your mailbox for a fresh coat of paint, you should make sure you have all the necessary supplies.
You will need spray primer, spray paint for a metal surface, all-purpose cleaner, tack cloth, and painter’s tape.
You should also have steel wool, sandpaper, or a wire brush.
How To Paint A Metal Mailbox: Step-by-Step Guide
Prep The Mailbox
The first thing you need to do is remove the entire mailbox from wherever it is attached. This will likely be a metal, wooden post, or a wall.
If you cannot remove the mailbox, then cover the wall or mailbox post with some painter's tape or masking paper.
If any parts (like a hook, latch, house numbers or flag) can be removed from the mailbox, now is the time to remove them. If you cannot remove these parts, you will cover them later with masking paper or painter's tape.
Note that the USPS has certain requirements for house numbers and flags attached to mailboxes, so it might be worth your while to check these out before you reattach them later on. Now's the time to replace anything that is not complying with the requirements.
Clean The Mailbox
Spray the mailbox with an all-purpose cleaner and scrub all the dirt off with a scrubbing brush.
Don't worry if there is still some mould or rust on the mailbox, you will remove this in the next step.
After you have cleaned the mail box, rinse it in water and leave it to dry completely.
Remove Mould Or Rust
Use sandpaper, a sanding block, steel wool, or a wire brush to remove any remaining mould or loose rust. Even if there is no visible mould or rust, you should still sand down your mailbox so that you have a smooth surface to work with.
If you see any mould or rust on any of the other parts (like the hook, latch or flag), you should also sand that off.
Some Final Preparations
After you have sanded down your surfaces, use a tack cloth to wipe away any dust, debris, or residue. This stops the dust from getting caught in the paint, which can create a grainy, uneven coat finish.
If there are any parts attached to the mailbox that you cannot remove and have not yet been covered, cover them with painter's tape. For some of the bigger parts, like a flag, you might want to wrap them in a plastic bag, and then secure this bag with painter's tape.
Now's the time to choose the right day prime and paint your mailbox. You want to choose a day that is not too humid or windy, as this could interfere with your paint finish. You also want a warm day, as the warmer the day, the faster your paint will dry. However, you don't want it to be too hot, as the paint could dry too quickly, leaving you with a bad finish.
You should also find a spacious, well-ventilated area to paint and prime your mailbox - preferably outside.

Prime Your Mailbox
Once you have chosen the time and place, it's time to apply primer to your mailbox. Choose a spray paint primer in a neutral colour.
Holding the can about 7 inches away from the mailbox, spray the primer onto the mailbox in a side to side motion. Try and use even strokes, overlapping slightly to ensure you cover the whole mailbox in an even coat.
Wait for your first coat of primer to dry, and then apply a second coat for good measure.
Painting The Mailbox
Once the primer is dry, it is time to start spray painting.
The best paint for a metal mailbox will usually be spray paint as it’s quick and easy to apply evenly. There are various spray paints available specifically for metal, and we advise that you choose one of these.
You might want your mailbox white, or painted black, or have your heart set on a funky yellow. Now's the time to get creative and choose the best colour for you and your house.
You want to apply at least two coats, to get a smooth, even finish on your painted mailbox.
Prime And Paint All The Parts
You might also want to paint the other parts of your mailbox. You can paint them the same colour, or change things up with a new colour.
Prime and paint these parts the same way you did the mailbox.
If the parts are loose, we recommend you place them on a plastic tablecloth to keep nearby items clean. If they are still attached to the mailbox, cover the dry, painted mailbox with painting tape before priming and painting the other parts.
Put Your Metal Mailbox Back Together
After you have primed and painted your mailbox, leave it to dry.
Remember, spray paint can feel dry to the touch but still not be fully cured. Look at the spray paint bottle to see how long it takes for the paint to cure. If you can't see anything, we recommend leaving it to dry overnight.
Now is also the time to get creative if you want to add anything else to your mailbox. There are so many unique mailbox ideas that you can use to spruce your mailbox up.
The final step is to attach any loose parts back onto the mailbox, and then reattach the mailbox to its post or wall.

Final Thoughts
Sometimes, adding a fresh coat of paint to your mailbox is all it takes to elevate your home. Follow these simple steps, and your old mailbox will look as good as new!
