
Do you think your mailbox might need replacing? You've come to the right place. We have put together everything you need to know about when and how to replace your own mailbox.
Replacing your mailbox is really quite easy, and is a fun opportunity to spruce up the outside of your home. Follow these simple steps, and you'll have a sparkling new mailbox in no time.
When To Replace Your Mailbox
You might want to replace your mailbox for aesthetic reasons. It might look unpleasant, affecting your home's curb appeal.
However, this is not the only time you need to replace your mailbox. You also have to replace your mailbox if it is a safety hazard.
Your mailbox needs to comply with certain USPS regulations. If it does not, it is a safety hazard and must be replaced as soon as possible.
You will also need to replace your mailbox if it is not in working condition. For example, your door might be broken or your post hole might be blocked.
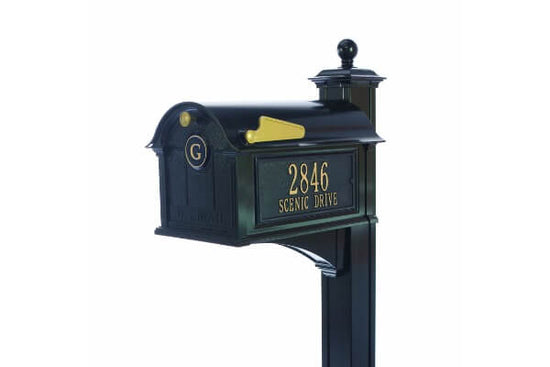
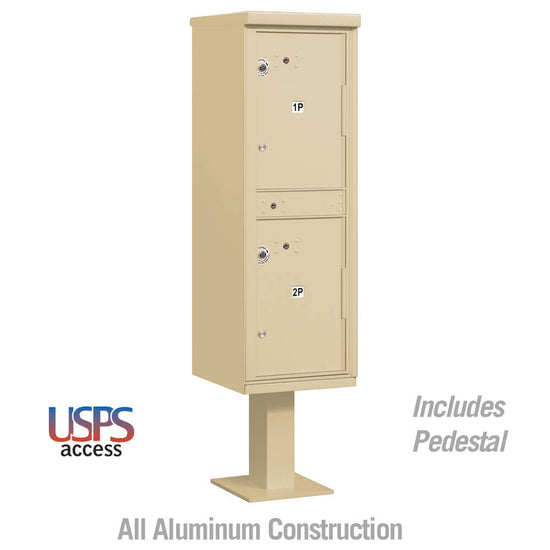
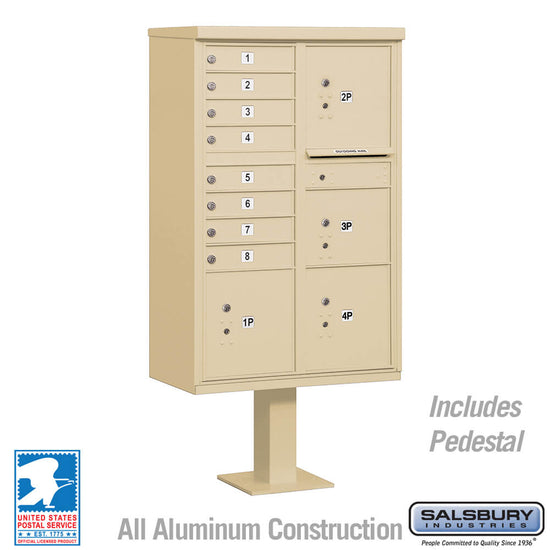
Moreover, if you have no safety features on your mailbox, we recommend getting a new one. It is always a good idea to have a locking mailbox to keep all your important documents safe.
How To Remove And Replace A Mailbox: 5 Steps
Not all mailboxes are the same. Some people have a wall mailbox, and others have a curbside mailbox attached to a post. Some even use door slots instead of a mailbox.
Replacing a mailbox attached to a post has a few more steps than replacing a wall-mounted mailbox so we will explain how to replace a mailbox and its post. Those of you who have wall mailboxes can ignore the steps relating to the post.
1. Remove The Old Mailbox
The first step is to remove the old mailbox. How you remove your mailbox depends on how it is attached. Depending on your setup, you might need to use tools like a socket wrench or screwdriver.
If you are removing any screws, make sure to keep them aside so that you can use them later to reattach your mailbox to its post.
Once the mailbox has been removed, it's time to remove the mailbox post. Dig out the soil around the mailbox and wiggle the post until you can remove it from the ground. If the soil around the post is hard, you might want to add some water to it to soften it up and make your job easier.
If the post is mounted in concrete, you will have to dig around the concrete and remove both the concrete and the post.

2. Adjust The Hole For The Post
If you are replacing your old post with a new one, check to see if they are different sizes. If so, you will have to adjust the size of your hole to accommodate the new pole.
Note that the United States Postal Service has certain requirements for the length of your pole as your mailbox needs to sit at a specific height. These postal regulations make the job of your mail carrier easier.
You can find everything you need to know about mailbox regulations on the USPS website or by visiting your local post office and speaking to your local postmaster.
When it comes to replacing your mailbox, the hole for your mailbox post should not be deeper than 24 inches. The Federal Highway Administration recommends this depth, as it will safely break away from the ground if hit by a vehicle.
USPS also requires the bottom of your mailbox must also be between 41 and 45 inches from the road surface. This is the ideal height for your mail carrier to place mail into your mailbox without needing to get out of their vehicle.
Once you have your post hole, we recommend you fill the bottom of the hole with a bit of gravel. This will help with water drainage and will make future mailbox replacements a lot easier than if you use concrete.
If you want to dig a new hole, first call your local utility locating service by calling 811 to ensure that you don't dig into any underground pipes or utilities.
3. Prepare The New Mailbox Post And Place It In The Hole
We recommend that you check to see if your new replacement post is weather resistant. After all, you don't want it rotting soon after you have replaced it. Wooden mailbox posts should be sealed to make them more weather-resistant. A pressure-treated post is also a good, durable option.
Now, it's time to put the new post in the hole at about 24” deep. Then you can begin filling the hole with soil. It's a good idea to fill the soil about a few inches at a time, packing it down in between each layer.
Find out more about installing a post in our article: How To Set A Mailbox Post.
4. Attach The Box
The next step is to attach your new mailbox. We recommend using a locking mailbox to prevent mail theft.
The best way to attach your mailbox to its post is by using mounting brackets. Mounting brackets and all the nuts and bolts necessary to attach your mailbox should come with the new mailbox.
5. Add Any Desired Finishing Touches
Once you have secured the mailbox to the post, it's time to add any finishing touches like your house number and flag.
If your mailbox is on your street, then you just need to add your house number. If it's on a different street to your house, you must add your full street address.

Final Thoughts
See? Replacing your mailbox is not as hard as you think. As long as you keep some important regulations in mind and follow our steps, you'll get through it in no time.
You might even enjoy using this opportunity to get creative and decorate or paint your mailbox a fun color. It's time to cross "replace mailbox" on your to-do list, and have some fun in the process!
******It is always recommended to contact your local postmaster prior to installation. While most of our mailboxes are USPS-approved your local postmaster may have specific preferences in terms of mailbox types and installation location******


1 comment
Lisa Darlene Snow
I just want to know how to put the new mailbox on the post.