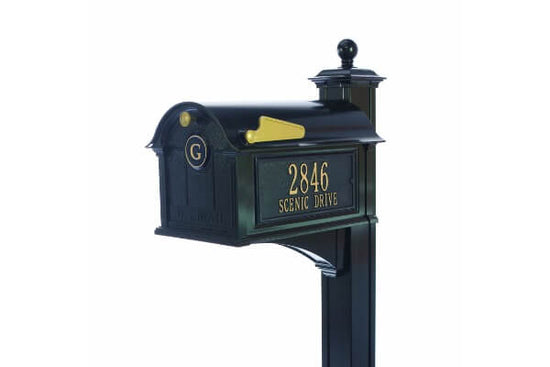
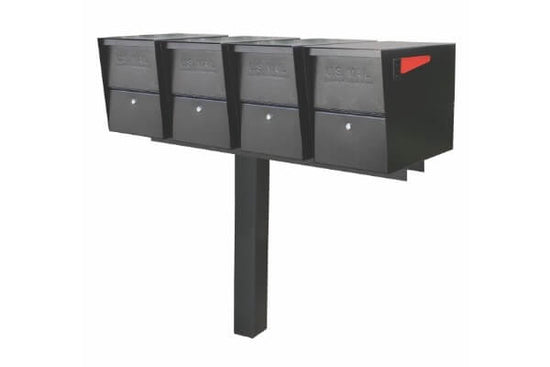
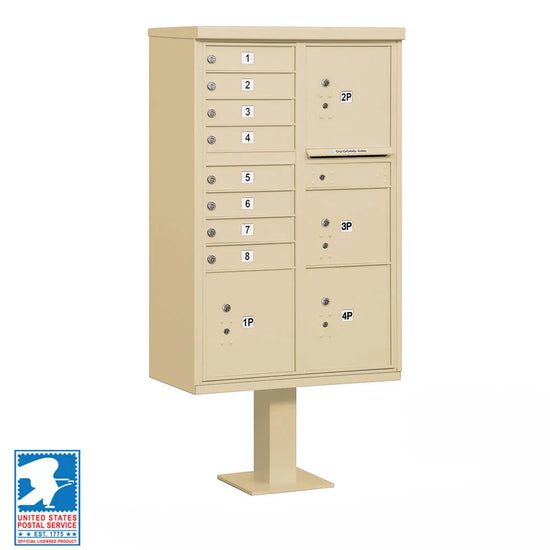
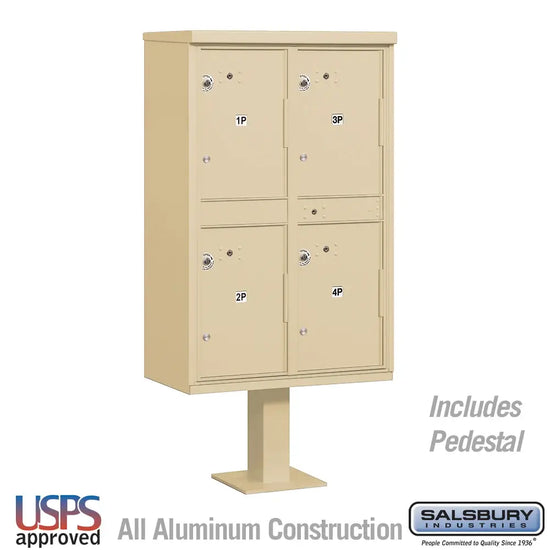
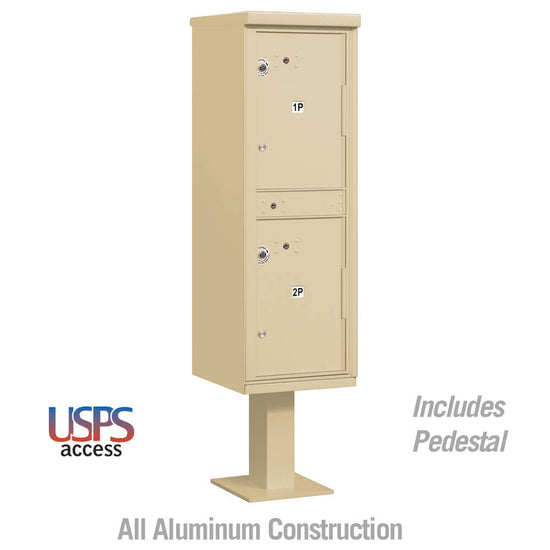
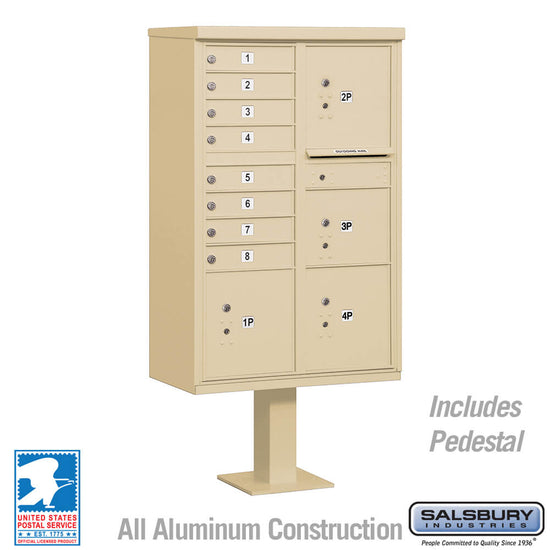
If you have recently purchased a new mailbox post, or if your current one has been knocked over or broken, you’ll probably want to know how to set a new mailbox post.
Your mailbox needs to be set up correctly, ensuring that it will stay firmly in place. To do so, you will need a mailbox post and concrete mix (most mailbox posts usually need two bags).
Then, simply follow these easy steps to ensure your mailbox will be set firmly.
8 Steps To Set A New Mailbox Post
Step 1: Position Your Post
When locating a position for your new mailbox post, you need to first locate your utilities. If you start digging in random areas, there’s a good chance that you’ll hit power cables, water pipes, or other important utilities.
Usually, there are services available that will visit your property to help you locate the utilities in your yard. You can find these local services online, and once they have marked the utility areas, make sure you dig away from the spaces that are marked. In the United States, you can call 811 to get your utilities marked out for free. After they are marked, you have 10 days to set up your mailbox post in the safely marked area.
If you’re replacing your mailbox that’s already built into the ground, you can put the new post in the same spot as the old one.
When installing your mailbox post for the first time, make sure it will be easily accessible for your mail carrier.
If you are placing it on a different street from your house, make sure your full street address is on it.
Step 2: Check Local Regulations For Mailboxes
The mail service in your region or your local homeowner’s association may have certain regulations on the height and distance from the curb at which your mailbox must sit.
For example, USPS requires that the opening of your postbox must be a few inches (6 to 8 inches) away from the curb, and 41 to 45 inches (100 to 110 cm) above the surface of the road.
If you’re living in an apartment, check our guide on the requirements for apartment mailboxes.
Step 3: Dig The Post Hole
Measure your post, and then use a shovel or post hole digger to dig out a hole. The hole should be 1/3 to 1/2 the length of the post, and 3 times the width of your post. For example, If your post is 4 inches wide, then the hole should be 12 inches in diameter.
A typical mailbox post should be set around 20-24 inches into the ground. This is the perfect depth for optimal stability.
Position your mailbox 41″ to 45″ from the road surface to the point of mail entry.
If you are replacing an old mailbox post, you need to remove it before you can put in a new one. Use a shovel or post hole digger to dig up the ground around the old post and lift it up and out of the ground. Alternatively, use some scrap pieces of wood to make a lever that will help pry it free if it’s too hard to lift.

Step 4: Support The Post
After you have dug the hole, get someone to hold the post up for you. Let a friend or family member hold the post straight up while you prepare the gravel.
You will need to keep the post there while adding the gravel and the concrete mix. This will take about 20 minutes, so make sure that your helper is comfortable and prepared for the following steps.
Step 5: Add Gravel To The Hole
Pour either gravel, small stones, or something similar into the hole. This will help with providing proper drainage to the bottom of the hole. Pour about 4 inches of gravel into the hole. This will leave you with a 16-inch deep hole.
You can get gravel from your local hardware store or nursery. You'll need approximately 10 to 30 pounds (4.5 to 13.6 kg) of gravel, depending on the size of your hole and the density of the gravel.
Check the depth of the hole again after you've added the gravel, to make sure that you still comply with the requirements for mailboxes in your area.
If you’ve removed an old mailbox post, and there is gravel leftover in the hole, then you don’t need to add any more gravel, as long as it’s deep enough and sets your post at the right height.
Step 6: Pour The Concrete
Start by preparing the concrete mix according to the manufacturer's instructions. Then, pour the concrete into the hole, and apply it evenly on all sides. If you pour unevenly, it will make one side weaker than the other.
Leave 4 to 5 inches of space at the top so that you can cover it with soil. Use a bubble level to check that your post is level, and make any final adjustments before continuing.
Step 7: Let It Set For 4-6 Hours
It will take several hours for the concrete to properly set. Make sure the post is steady and secure before leaving it to set for a few hours.
Step 8: Cover With Dirt
Once the concrete has been set completely, cover the concrete up with dirt and flatten it so that it’s even with the ground. Make sure you tamp down the dirt as this will prevent air pockets.
How To Set A Mailbox Post Without Concrete
If you want to install a mailbox post without using concrete, you will need to get an anchor. An anchor will help you place a regular 4x4 inch mailbox post in areas that don’t have support. You just have to screw the anchor into the ground using a crossbar and then secure the mailbox post on the bracket using the bolts provided.

Conclusion
It’s as easy as that. Setting up your mailbox post won’t take too long, and with the right tools, materials, and mailbox post, you will have yourself a secure mailbox post in no time!
Once you’ve got your new mailbox and post, just grab your concrete, your tools, and some extra helping hands, and you’re all set.
******It is always recommended to contact your local postmaster prior to installation. While most of our mailboxes are USPS-approved your local postmaster may have specific preferences in terms of mailbox types and installation location******
