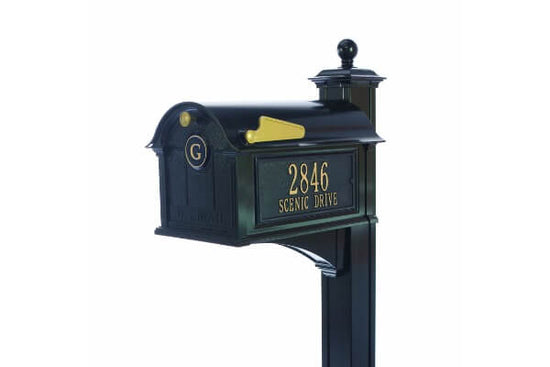
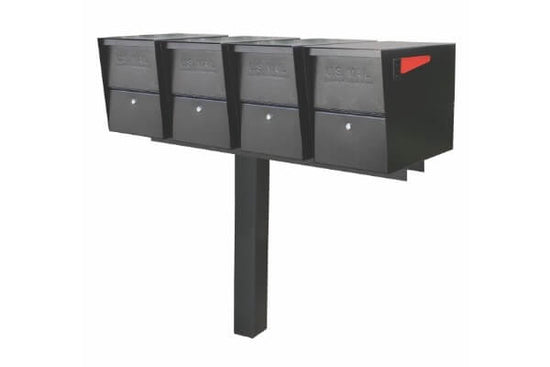
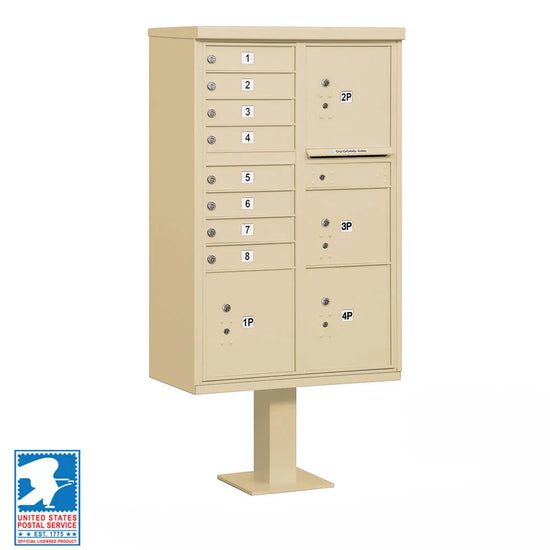
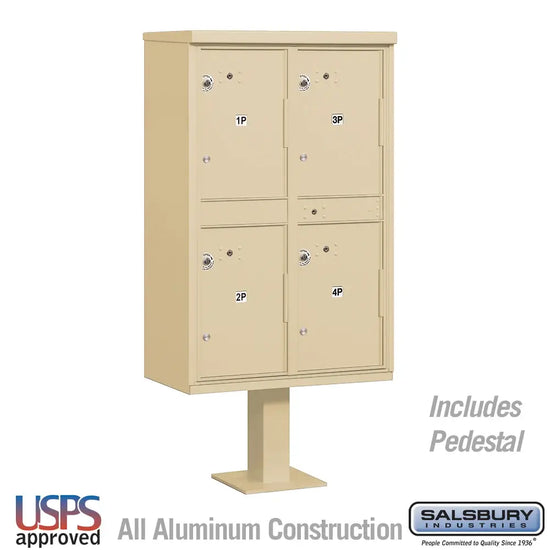
With brick being a classic yet trendy look for a mailbox, more and more people are opting for it as their material of choice. But how do you build a brick mailbox?
A mail box is a key part of any property to safely receive mail from the United States Postal Service (USPS), local post office, or even packages from a host of companies, including delivery from United Parcel Service (UPS).
You can look to get a brick mailbox built for you by an external provider, but alternatively, you can give it a shot yourself. All you need is the right tools and a step-by-step guide to help you along so that you can build your own brick mailbox on your property.
What Do You Need To Build A Brick Mailbox?
Before you begin the building process, you should ensure that you have all tools and materials you need for the project so that you can avoid disruption once you start.
The materials you need are:
- A mailbox
- Bricks
- Mortar
- Metal anchors
- Concrete
- Concrete blocks
- Pea gravel
The tools you need include:
- Gloves
- A level
- Shovel
- Jointer
- Wire brush
- Hard-bristle brush
- Measuring tape
- Trowel
- A rating square
If you need any of the above tools just for this project, explore the option of renting it out to avoid spending unnecessarily on tools that you may not use again.
How To Build A Brick Mailbox: Step-By-Step Guide
Plan Ahead
Before you begin the building process, you need to think about what type of brick mailbox you require. Consider the size, design, and color so that you know what to purchase in the way of materials.
You should also read up on any USPS regulations regarding the height position of your mailbox, as well as any specific building regulations in your area, or local building codes. This should help you determine where to place your new mailbox.
Digging A Hole
Once you finalize your mailbox location, you can begin the digging process. This is the ‘footing’, which is where you place your mailbox for it to remain sturdy.
Dig an area that is a little bigger than the actual mailbox and it should be around 7”-8” deep.
Pouring In Concrete
Prepare the concrete and have it ready to pour.
Once poured into the hole, work with the concrete to ensure that the entire foundation is all flat so that your mailbox does not end up askew. Use your level here to check this, and fix it up. You will need to work quickly here before the concrete starts to dry too much.
If you use standard concrete, you will need to leave it for about a week before doing anything further so that it sets properly. However, you can opt for fast-drying concrete that will set within a day or two for you to speed the process along.
You can use pea gravel in your concrete footer if desired.

Lay The Foundation
After the recommended time for your concrete to set has passed, you can begin laying the foundation.
Your foundation will be two layers of cement blocks. To mark where the first layer will sit, use a trowel on the footing, and then proceed to place the blocks in the right place using the mortar on the marked area.
Once done, apply more mortar onto the top of the blocks so that you can place the next course.
Start With The Bricks
After placing the cement blocks, it is time to start with the first course of brick. To start, you want to cover the concrete foundation with the brick structure and complete the lower half of the overall mailbox.
Place the bricks around (without any mortar) to get a sense of how they will look and how to position them, before you begin with the actual construction. Once you are happy, you can begin by applying mortar on the footing and on the bricks to begin building.
Use the jointer to remove any excess mortar, so that the mortar joints look tidy.
Inserting The Mailbox
Once the bottom part of the structure is complete, you need to insert the actual mailbox so that you can build the rest around it.
Place a metal or plastic mailbox and mailbox post into the structure, and ensure it is at the right height. Once you decide on the right position for it, secure it to the footing with mortar.
Then continue with the next brick layers around the mailbox to complete the actual structure.
Close The Top
Once the structure is at the desired height, you will need to close off the top with concrete. You can either use concrete blocks for this or opt for a concrete capstone that is already formed into a tidy ‘cap’ for your mailbox.
Either way, you will secure your choice on the top using generous amounts of mortar to keep it in place. You will then have a finished mailbox.
How Much Does It Cost To Build A Brick Mailbox?
The cost of building a brick mailbox will vary according to the size and design you go for, as this will determine the type and amount of materials you need to buy.
The average cost of building a brick mailbox can range from $600 to over $1500. It will be on the higher end if you get someone else to do it for you, but doing it yourself will likely save a few bucks.

Conclusion
A brick mailbox is an excellent choice for any property, as it is durable and sturdy, making it unlikely to need replacement in the long term.
A stronger structure means that the labor to build it will be a bit more challenging. But, as the steps that we have described above show, it is not impossible to do on your own.
Ensure you have good quality tools and materials on hand, and perhaps ask a friend or two to help out so that it is quicker and easier.
******It is always recommended to contact your local postmaster prior to installation. While most of our mailboxes are USPS-approved your local postmaster may have specific preferences in terms of mailbox types and installation location******
