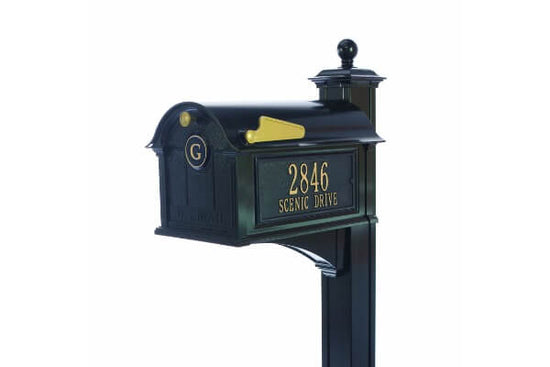
Classic and vintage style mailbox
Indeed, painting your mailbox is one way to customize its appearance, but if you’re not artistically inclined and can’t create original artwork, using a mailbox cover is the quickest way to add a touch of personality to your mailbox.
Mailbox covers come in a wide array of designs, from seasonal themes to artistic creations, so you can express your style and make a statement right at your doorstep.
In this guide, we’ll share some of the best creative mailbox covers and DIY tips (just in case you want to design one yourself).
Top 5 Mailbox Covers

1. Mount Hour Sunflowers Wood Mailbox Cover

Elevate your mailbox with the vibrant and functional Sunflower Wood Mailbox Cover. Its unique sunflower pattern adds a delightful touch and ensures your mailbox is a true eye-catcher for the front yard.
Crafted from waterproof Oxford cloth, it protects against rain and UV rays while being reusable. Installation is a snap with soft magnetic strips; no tools required. Plus, maintenance is hassle-free ― simply hand wash and air dry. The cover is available in sizes to fit standard and large mailboxes.
2. Mantaiyuan Autumn Fall Harvest Mailbox Cover

This cover is a must-have for your American mailbox. It fits a standard mailbox and larger sizes with ease, and it meets all USPS requirements, so you don’t have to worry about any mail delivery issues.
The Autumn Fall Harvest Mailbox Cover is reusable, sun-proof, fade-resistant, and waterproof ― features that ensure it stays vibrant in all seasons and through all kinds of weather.
Installation is a breeze with its magnetic surface. Plus, it makes for a heartwarming gift with its beautiful decorative pattern. Upgrade your mailbox’s style effortlessly with this cover that combines functionality and aesthetics.
3. Sweetshow Winter Mailbox Covers

The Winter Mailbox Covers are an easy way to spruce up your mailbox’s style. Measuring 21x18 inches, these holiday-themed covers feature a unique design that makes your mailbox stand out.
Made from high-quality waterproof Oxford cloth, these covers are built to withstand the elements and maintain their charm. Like other magnetic mailbox covers, installing this one is pretty straightforward ― no tools needed.
Plus, they’re reusable, making seasonal changes a snap. These covers are versatile and also make thoughtful gifts for special occasions.
4. Briarwood Lane Patterned Pumpkins Autumn Magnetic Mailbox Cover

This mailbox cover is the perfect addition to your home during autumn. Crafted with authentic Briarwood Lane craftsmanship, it showcases a delightful pumpkin pattern that adds charm and warmth.
Made from fade-resistant all-weather vinyl, this cover can withstand the elements and maintain its vibrant colors season after season. Installation is a breeze, thanks to its magnetic strips, and its reusable quality means you can change the look of your mailbox effortlessly.
The cover is designed to fit standard-size steel mailboxes and features self-adhesive address numbers for added convenience.
5. American Flag Welcome Magnetic Mailbox Cover

The American Flag Welcome Magnetic Mailbox Cover isn’t just a practical choice ― it’s also patriotic. Available in two sizes, it perfectly fits standard and oversized mailboxes.
Crafted with waterproof Oxford fabric, the cover is built to withstand the harsh outdoor environment.
But what truly shines are its features: this cover is waterproof, fade-resistant, and UV-resistant, ensuring it keeps its good looks for the long haul. With soft magnetic strips for easy installation and removal, you can easily display your love for your country.
Crafting Creative Mailbox Covers: A Step-by-Step DIY Guide

While store-bought mailbox covers are convenient, there’s something special about adding a personal touch to the face of your letter collector. That’s where a homemade mailbox cover shines.
Here’s a simple DIY mailbox cover idea using outdoor-grade vinyl, which is a durable material suitable for outdoor use. You can customize it with your own design, house number, or any other personalization you prefer.
Materials Needed:
- Outdoor-grade vinyl sheet (in your preferred colors)
- Transfer tape (to transfer your design)
- Scissors or a craft knife
- Squeegee or a credit card (for smoothing out bubbles)
- Measuring tape or ruler
- Pencil
- Design for your mailbox cover (you can create this using design software or find free templates online)
Step 1: Measure Your Mailbox
Start by measuring the dimensions of your mailbox. Measure both the front and sides if you want to cover more than one surface.
Step 2: Create Your Design
Create the design you want for your mailbox cover using design software or an online design tool. Make sure it fits the measurements you took in step 1. You can add your house number, artwork, or any other elements you like.
Step 3: Print or Cut Your Design
Cut your design using a vinyl cutting machine. Alternatively, you can print your design on a vinyl sheet if you have a printer that can handle vinyl.
Step 4: Weed the Vinyl
Use scissors or a craft knife to remove the excess vinyl (the parts you don’t want on your mailbox cover). Be precise, especially if you have intricate details in your design.
Step 5: Apply Transfer Tape
Cut a piece of transfer tape slightly larger than your vinyl design. Place the transfer tape adhesive side down on top of your vinyl design. Use a squeegee or a credit card to smooth out any bubbles and ensure the transfer tape adheres to the vinyl.
Step 6: Transfer the Design
Carefully peel the backing off the vinyl, leaving your design on the transfer tape. Align the design on your mailbox where you want it to go.
Step 7: Apply the Vinyl
Press the vinyl onto the mailbox surface, starting from one edge and working your way to the other. Use the squeegee or credit card to smooth out any bubbles or wrinkles. Press firmly to ensure the vinyl adheres well.
Step 8: Remove Transfer Tape
Carefully peel off the transfer tape, leaving the vinyl design on your mailbox.
Step 9: Trim Any Excess Vinyl
If there’s any excess vinyl hanging over the edges of your mailbox, carefully trim it with scissors or a craft knife.
Step 10: Final Touches
Take a final look at your DIY mailbox cover to ensure it is securely attached and free of bubbles or wrinkles. Make any necessary adjustments.
